
Fibre optic cable is what connects the parts of a network that copper cannot reach: the floors of a building, separate warehouses, a data centre and its communications rooms, or two sites on the same campus. We install that fibre optic cabling for companies in Madrid from start to finish: site survey, cable pulling, splicing, certification of every link, and documentation that your team, or your next provider, can actually understand.
This page explains when fibre is worth it, what the service includes, how to choose between single-mode and multimode, which tests you should demand from the installer and what drives the cost. If your project is already clear, you can request a consultation directly.
When does a company need fibre optic cabling?
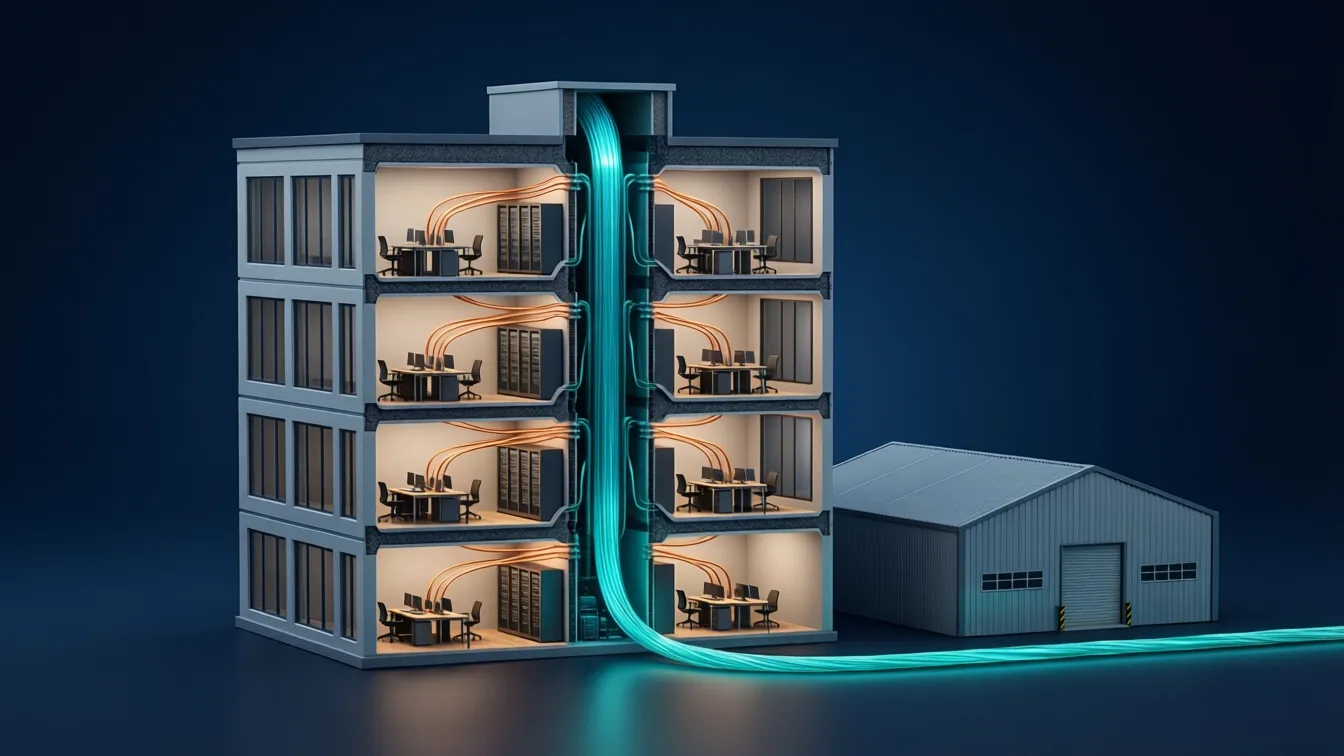
Category 6 or 6A copper cabling is limited to 100 metres per channel (a 90-metre permanent link plus patch cords). Beyond that distance, or whenever the cable has to leave a building, fibre stops being an option and becomes the right answer. These are the cases we see most often in companies:
- Backbone between floors: one communications room per floor, connected to the main rack by a fibre trunk.
- Separate warehouses and buildings: stores, workshops or units on the same site, where copper would suffer from both distance and differences in electrical potential.
- Data centres and technical rooms: links of 10 Gbit/s or more between core switches, servers and storage.
- Industrial environments: areas with motors, drives or machinery that generate electromagnetic interference; fibre is immune to it.
- Remote points: cameras, wifi access points or access control units far from the rack, where fibre is run to a local switch and copper with PoE takes over from there.
Fibre does not replace copper at the workstation: it complements it. A sound design usually combines both, as we explain in our guide to structured cabling in Madrid.
Fibre and copper: each in its own segment
| Network segment | Usual medium | Reason |
|---|---|---|
| User outlet, IP phone, printer | Copper Cat 6 / 6A | Short distances, PoE power and cost per point |
| Floor rack to main rack | OM4 multimode or OS2 fibre | Backbone capacity and riser distances |
| Between buildings or warehouses | OS2 single-mode fibre, outdoor cable | Distance, electrical isolation and weather exposure |
| Inside the data centre | OM4 / OM5 fibre or DAC cables | Density and speed between devices |
What our fibre installation service includes
A fibre link is only as good as its weakest point: a bend that is too tight, a dirty connector or a poor splice is enough to make the link fail or run at its limit. That is why we cover the whole cycle, not just the cable pulling.
Design and site survey
We visit the building, walk the containment, risers and cable trays, and measure the real routes. From that we define the number of fibres (leaving spare capacity for growth), the cable type (indoor, outdoor, LSZH, armoured or rodent-resistant), the optical distribution frames and the splice trays. The outcome, after the technical visit, is a closed proposal with scope, materials and timescales.
Cable pulling and containment
We pull the cable within the manufacturer's bend radius and maximum tension limits, through existing or new containment. When the route crosses the common areas of an office building, we coordinate permissions with the landlord and, if the schedule requires it, work outside office hours so the business keeps running.
Splicing and termination
We terminate every fibre by fusion splicing it to pigtails in organised, labelled trays, and mount the distribution frames in the rack with LC or SC connectors to suit the equipment. Where density justifies it, in a data centre for example, pre-terminated MPO trunks can be used.
Certification and documentation
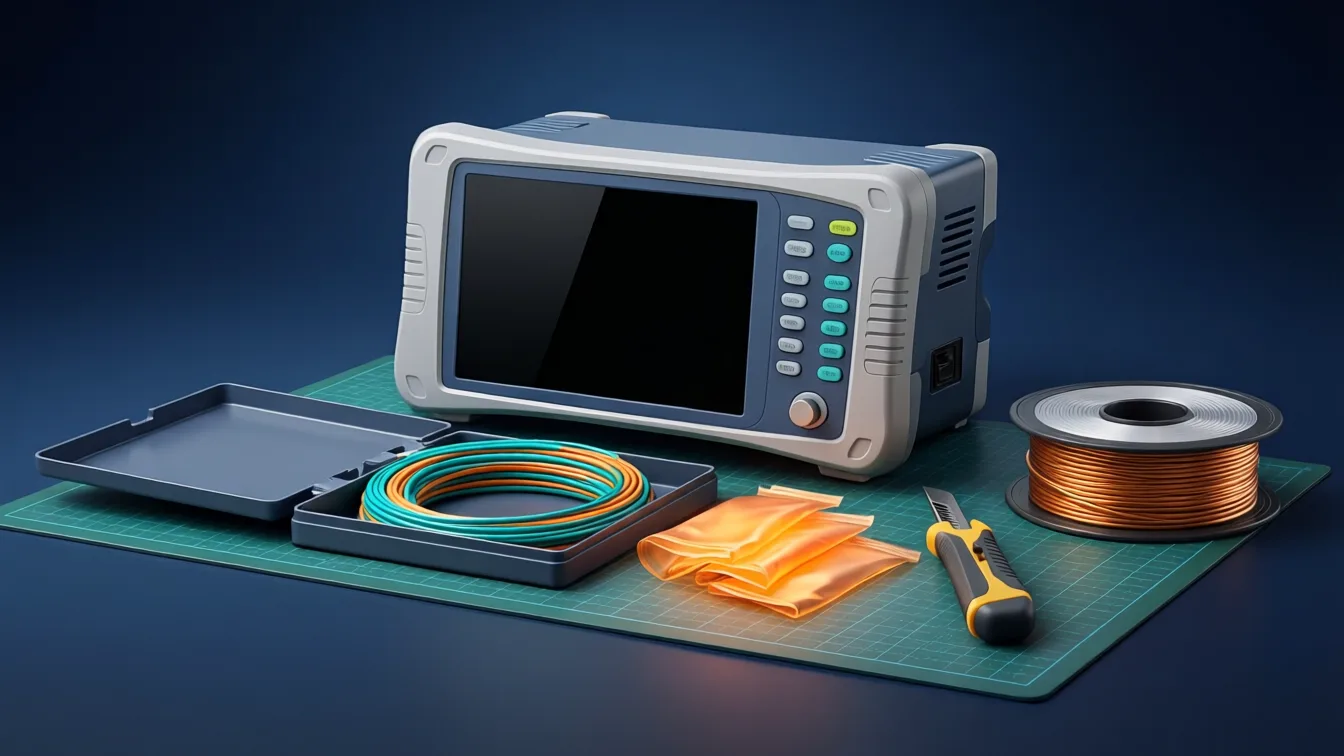
We measure every link and hand over the test reports together with the route plan, the fibre and tray labelling and the port mapping table. That documentation is what lets you extend or repair the network years later without starting from scratch.
Single-mode or multimode: how to choose
The choice depends on distance, the expected speed and the equipment to be connected. These are the indicative reaches set by the Ethernet standards for 10 Gbit/s:
| Fibre type | Typical reach at 10 Gbit/s | Typical use |
|---|---|---|
| OM3 multimode | up to 300 m (10GBASE-SR) | Existing installations, short links |
| OM4 multimode | up to 400 m (10GBASE-SR) | Building backbone and data centre |
| OM5 multimode | up to 400 m, ready for wavelength division multiplexing | Data centres planning for 40/100 Gbit/s |
| OS2 single-mode | 10 km or more (10GBASE-LR) | Between buildings, campuses and long runs |
In an office building, OM4 multimode is usually enough and keeps transceivers cheaper. Between buildings, or if you expect speeds to grow a lot, OS2 single-mode is the safe bet: the cable costs about the same and its reach is far greater. What matters is that the transceivers in the switches match the fibre installed.
Fusion splicing versus mechanical connectors
Fusion splicing joins the fibres with an electric arc and leaves very low losses, typically hundredths of a decibel, well below the 0.3 dB maximum per splice allowed by ANSI/TIA-568.3-D. Field-installable connectors are quicker for a one-off repair, but in a new installation fusion splicing is the durable option.
Certification: which tests the installer should hand over
A fibre that "shows light" is not necessarily well installed. Before signing off the work, ask for measured test results, not just a visual check. The reference standards (ANSI/TIA-568.3-D and ISO/IEC 14763-3) define two tiers:
- Tier 1 certification (OLTS): uses a light source and power meter to measure the total loss of each link and compare it with the calculated loss budget; it also checks length and polarity.
- Tier 2 certification (OTDR): adds a reflectometer trace that locates every connector and splice along the link, with its individual loss. This is what lets you prove where a fault is.
For a building backbone, Tier 1 is usually enough; for links between buildings, long runs or critical networks we recommend adding OTDR. In both cases you receive a report per link, with date and result, and connectors are cleaned and inspected before testing.

Typical projects in Madrid
Most of the fibre installations we are asked for in Madrid fall into one of these scenarios:
- Multi-floor offices refurbishing their communications room and needing a new backbone between racks.
- Logistics and industrial warehouses connecting office, storage and loading docks, and taking the network out to remote cameras and access points.
- Companies building or renewing a data centre or technical room and needing high-speed links between equipment.
- Sites with several buildings on the same plot that want to stop relying on radio links or non-compliant copper.
In Madrid we work with our own technical team. For sites in the rest of Spain or in Portugal we assign the nearest local resource or a partner coordinated by us, with the same working method and the same documentation. Fibre is usually part of a wider network infrastructure and wifi project or a server room and rack build, and we also take it on as a standalone job.
What drives the cost of a fibre installation
We do not publish fixed rates, because two installations with the same number of metres can cost very different amounts. The main factors are:
- The length of each run and the number of fibres per cable.
- The cable type: indoor, outdoor, LSZH, armoured or rodent-resistant.
- Whether there is usable containment or it has to be created (trays, conduits, draw pits, core drilling).
- The number of splices, distribution frames and trays.
- The level of certification required (OLTS, OTDR or both).
- Working conditions: night or weekend hours, work at height, landlord permissions.
After the site survey we send an itemised quote, so you can compare like for like. If you are also reviewing the rest of the network, our guide to structured cabling for businesses will help you define the whole picture.
How we work
- First conversation: what you want to connect, why, and on what timeline.
- Visit and site survey: walking the routes, taking measurements and reviewing racks and containment.
- Closed proposal after the technical visit: scope, materials, certification level, schedule and itemised price.
- Installation: cable pulling, splicing and mounting, coordinated with your business and with the building's landlord.
- Certification and handover: test reports, plans, labelling and a final walkthrough with you.
After handover we can keep looking after the network through our managed IT services, or leave it fully documented for your own team.